
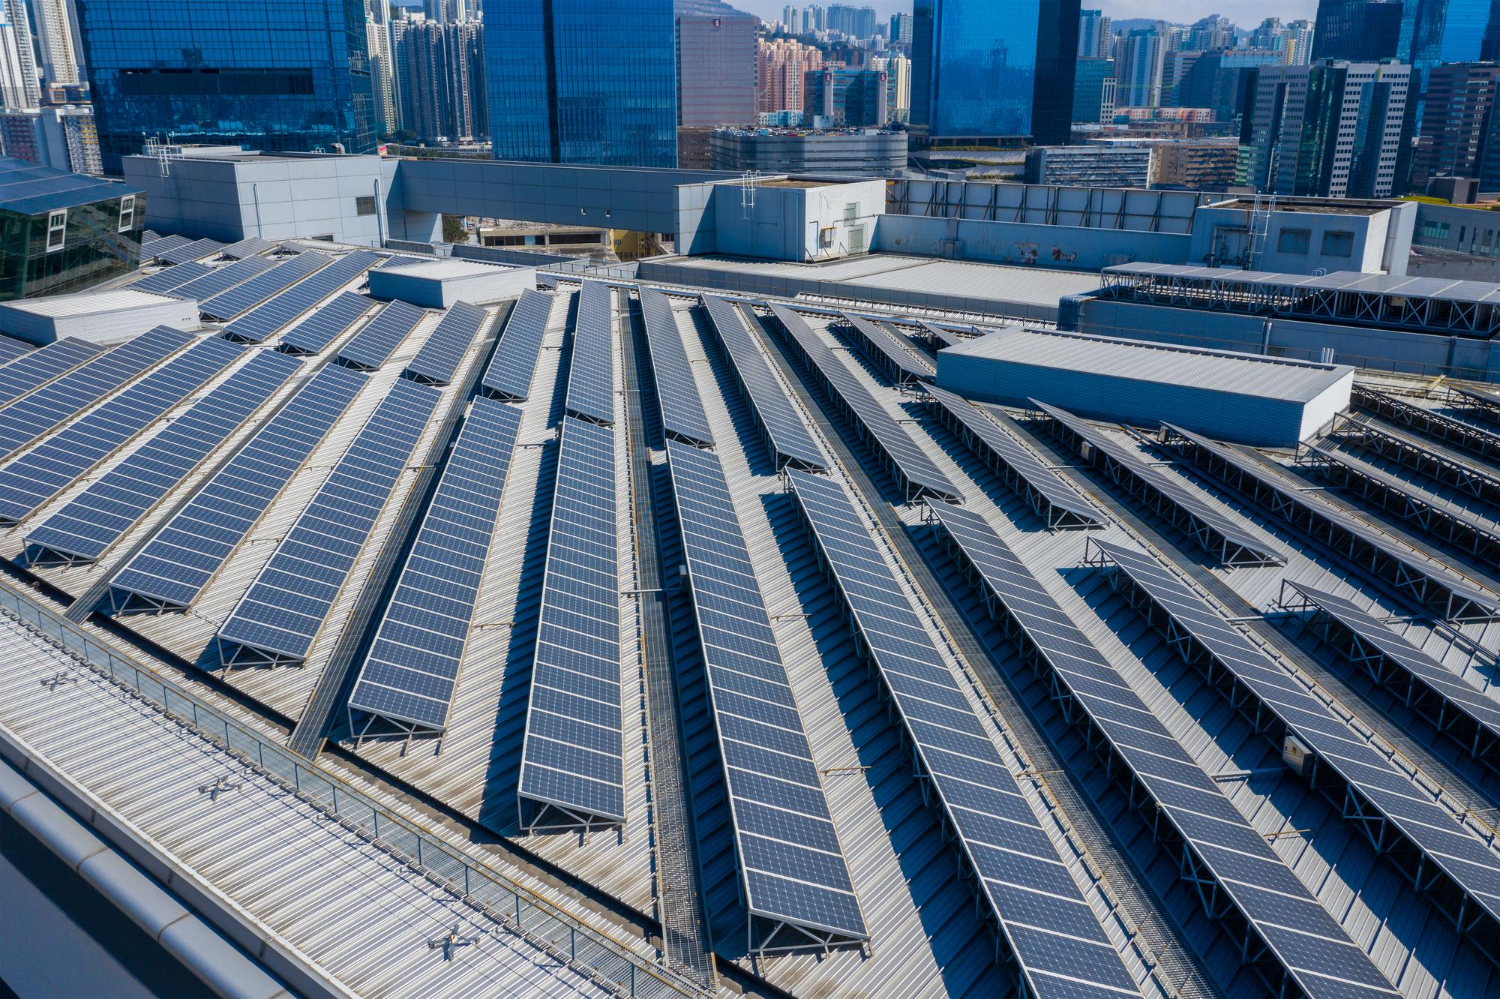
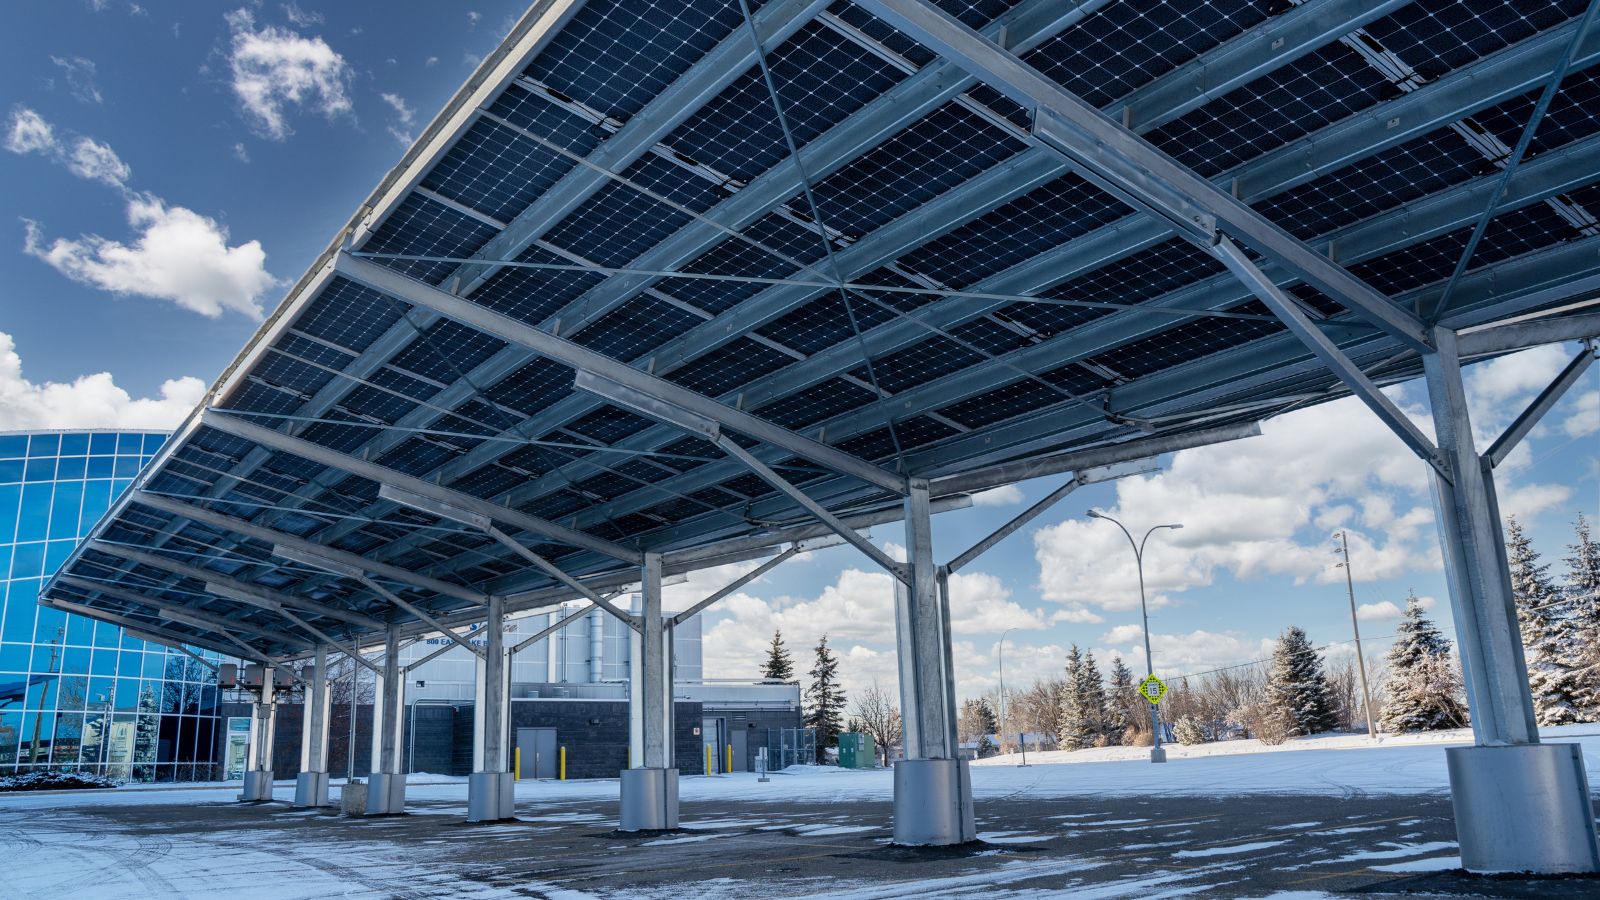
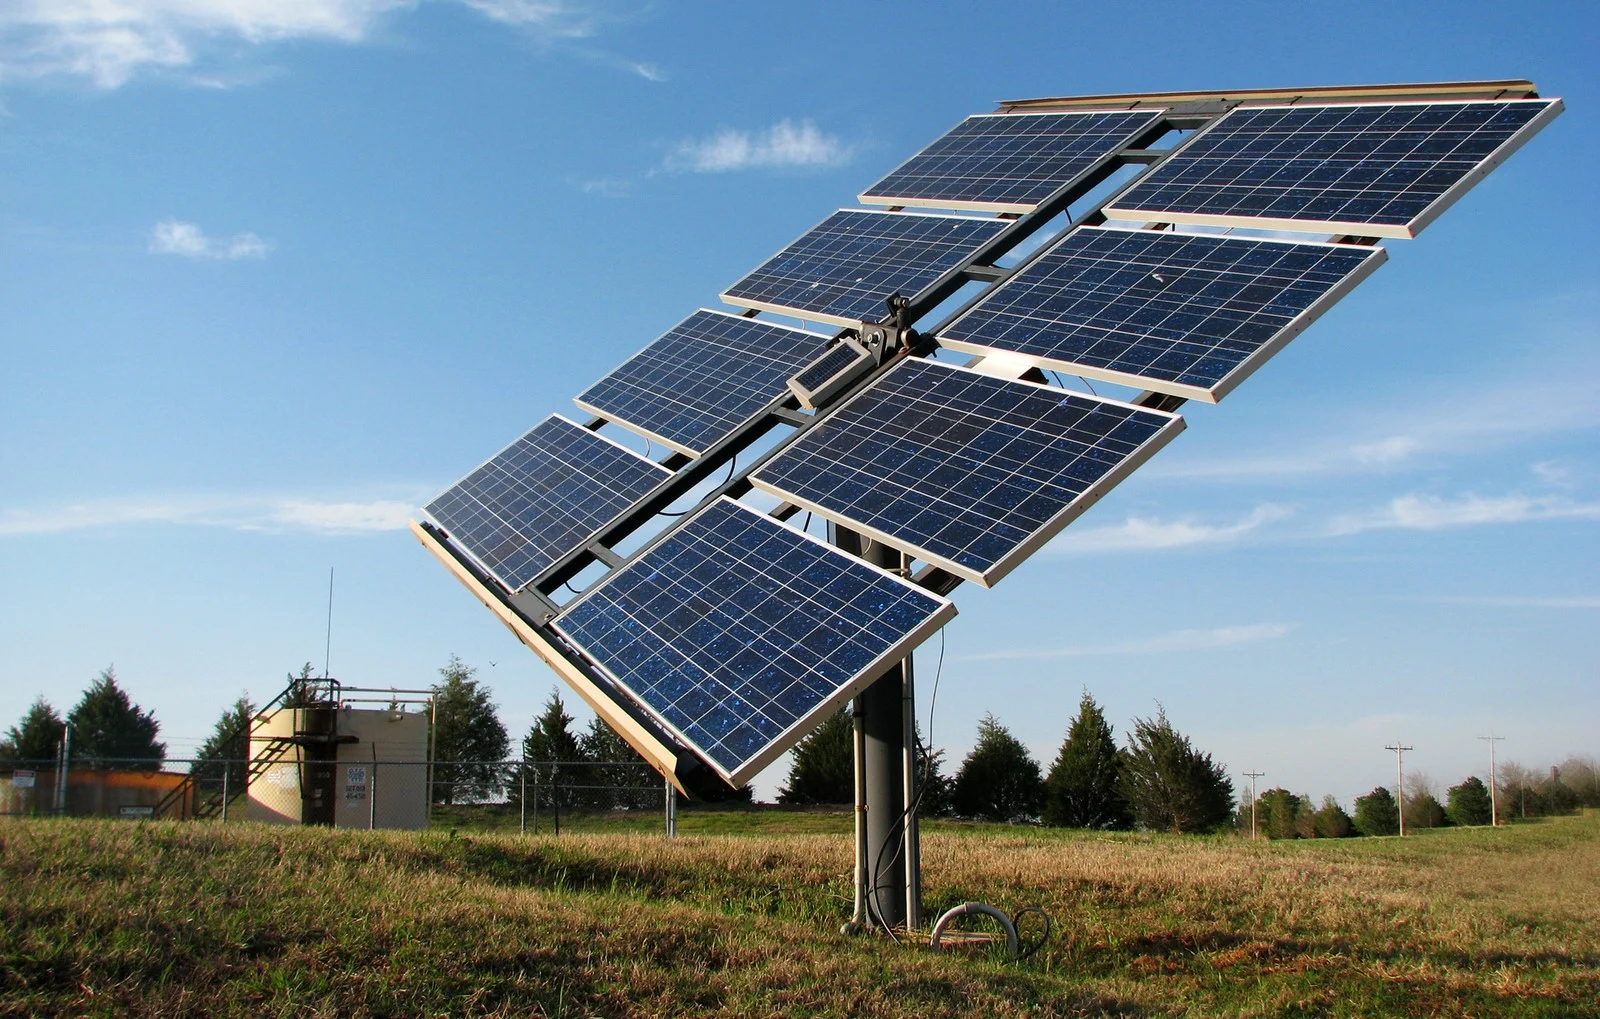
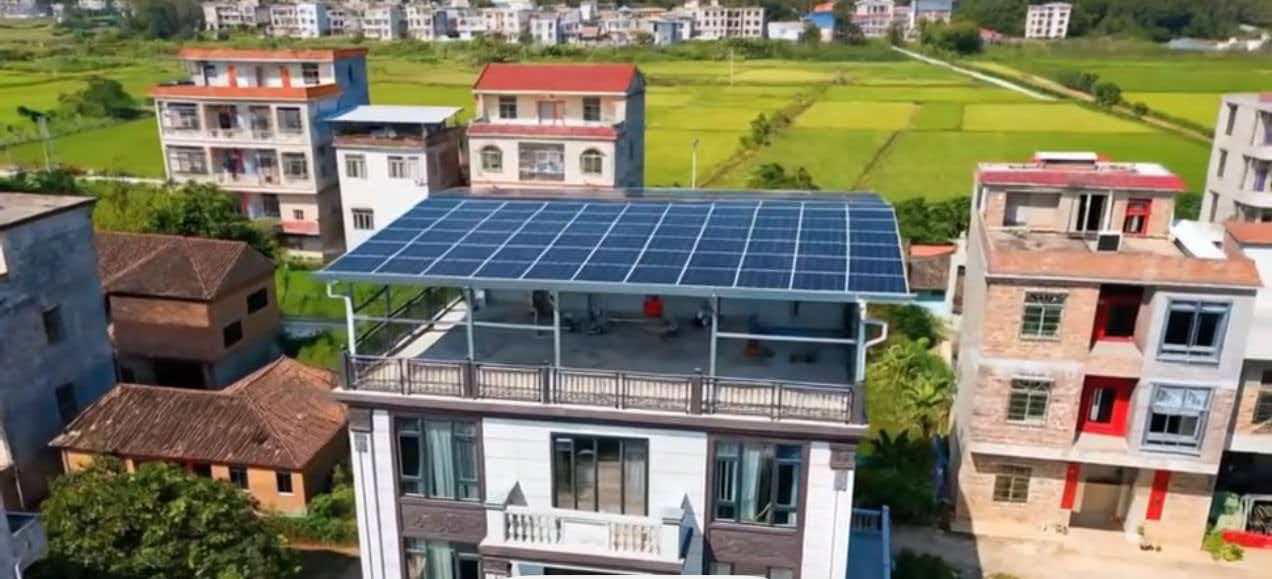
Solar sunroom and solar carport structures are the most popular dual-function solutions for modern residential and commercial solar projects. They provide reliable outdoor shelter, expand usable space, and generate clean solar power at the same time.
The overall safety, wind resistance, snow load performance, and 25+ year service life of a photovoltaic sunroom system heavily rely on high-quality solar mounting brackets and standardized installation procedures. Improper installation often causes water leakage, structural shaking, panel damage, and hidden safety risks.
If you are searching for a professional guide for solar sunroom bracket installation, this step-by-step tutorial covers all standard construction processes, key details, and safety tips for global solar installation teams and property owners.
1. Pre-Installation Site Inspection and Measurement
Before assembling any steel structures, complete site evaluation is essential for stable installation.
First, check the ground foundation condition, including concrete flatness, ground hardness, and drainage layout. Confirm local climate parameters such as maximum wind load and snow load to select qualified solar carport bracket specifications that match regional building codes.
Second, measure the installation span, height, and orientation. South-facing installation is highly recommended to maximize PV panel power generation efficiency.
For customized structural solutions, you can check our custom solar mounting bracket designs for different terrain and climate conditions.
2. Prepare Installation Tools and Bracket Components
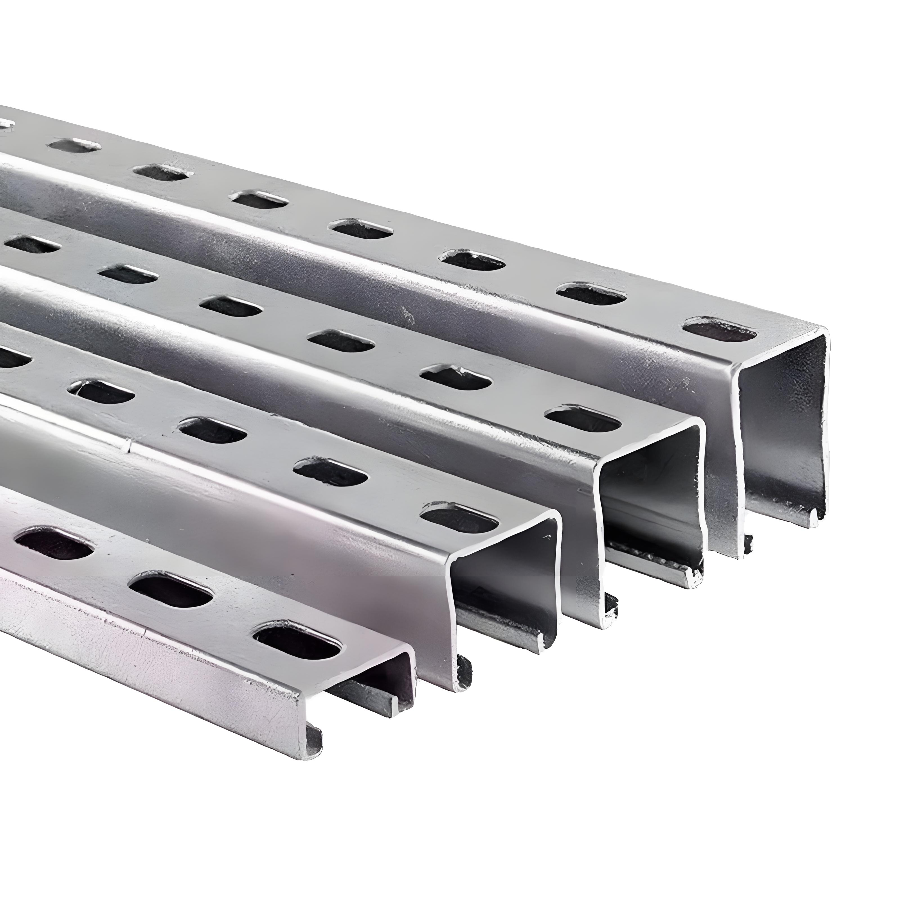
Standard solar sunroom mounting systems adopt hot-dip galvanized steel or high-strength aluminum alloy materials, featuring anti-rust, anti-corrosion, and high load-bearing performance.
A complete bracket set includes base plates, vertical columns, main beams, secondary purlins, expansion bolts, and full connection accessories. Before installation, sort all parts and check for deformation or missing components. Prepare level meters, measuring tapes, electric drills, and torque wrenches for accurate construction.
Our factory provides complete solar bracket accessory packages to ensure 100% matching installation and reduce on-site construction problems.
3. Foundation Drilling and Base Plate Fixing
The foundation fixing process determines the overall stability of the solar sunroom frame.
Mark all mounting positions strictly according to the design drawing. Drill holes on the concrete ground, place expansion bolts, and fix base plates tightly. Keep all base points on the same horizontal level to avoid structural tilt.
Unlevel bases will lead to uneven stress on the steel frame, affecting drainage and solar panel flatness in the long run.
4. Vertical Column Installation and Verticality Calibration
Install vertical steel columns on fixed base plates and fasten all bolts with standard torque force. Avoid over-tightening or loose connections.
Use a level meter to calibrate column verticality. Straight vertical columns ensure excellent wind resistance and structural stability, which is critical for outdoor solar structures exposed to severe weather.

5. Main Beam and Purlin Frame Assembly
Connect all vertical columns with horizontal main beams to form the overall frame skeleton. Then install secondary beams and purlins with standard spacing according to solar panel dimensions.
Reasonable purlin spacing provides full support for PV modules, preventing panel bending and cracking under wind or snow pressure. This step forms the complete solar sunroom steel frame structure.

6. Overall Frame Leveling and Structural Inspection
After frame assembly is finished, conduct comprehensive leveling and quality inspection.
Check frame horizontal flatness, structural symmetry, and all bolt fastening points. Eliminate loose connections, structural deviation, and component misalignment. A calibrated frame ensures smooth water drainage, avoids rainwater accumulation, and extends the service life of the entire solar system.
7. Solar Panel Mounting and Final Acceptance
Place solar panels neatly on the purlin frame and fix them with dedicated panel clamps. Reserve uniform gaps for heat dissipation and waterproofing.
After installation, recheck the whole structure’s wind resistance performance, load-bearing capacity, and installation firmness to ensure full compliance with international solar construction standards.
Key Notes for Solar Sunroom Bracket Installation
1. Always design the structure based on local wind load and snow load data.
2. Use hot-dip galvanized steel brackets for long-term anti-corrosion performance.
3. Keep a reasonable frame slope for effective rainwater drainage.
4. Complete all bolt fastening to prevent structural loosening in strong winds.
5. Avoid overloading the solar sunroom frame with extra weight.
Why Choose Professional Solar Steel Mounting Structures
According to industry installation standards from the International Energy Agency, standardized solar bracket installation can improve overall system stability and extend photovoltaic project service life effectively.
Professional solar sunroom and carport brackets balance high load-bearing capacity, weather resistance, and installation efficiency. Compared with ordinary steel structures, customized solar mounting systems adapt better to outdoor environments and meet global project safety requirements.
Final Words
Standardized solar sunroom bracket installation is the foundation of a safe, stable, and high-efficiency photovoltaic system. Strict construction processes avoid later maintenance problems and ensure 25 years of stable power generation.
We provide one-stop solar sunroom and carport mounting solutions, including customized design, factory pre-assembly, and professional installation guidance for global residential, commercial, and industrial solar projects.